
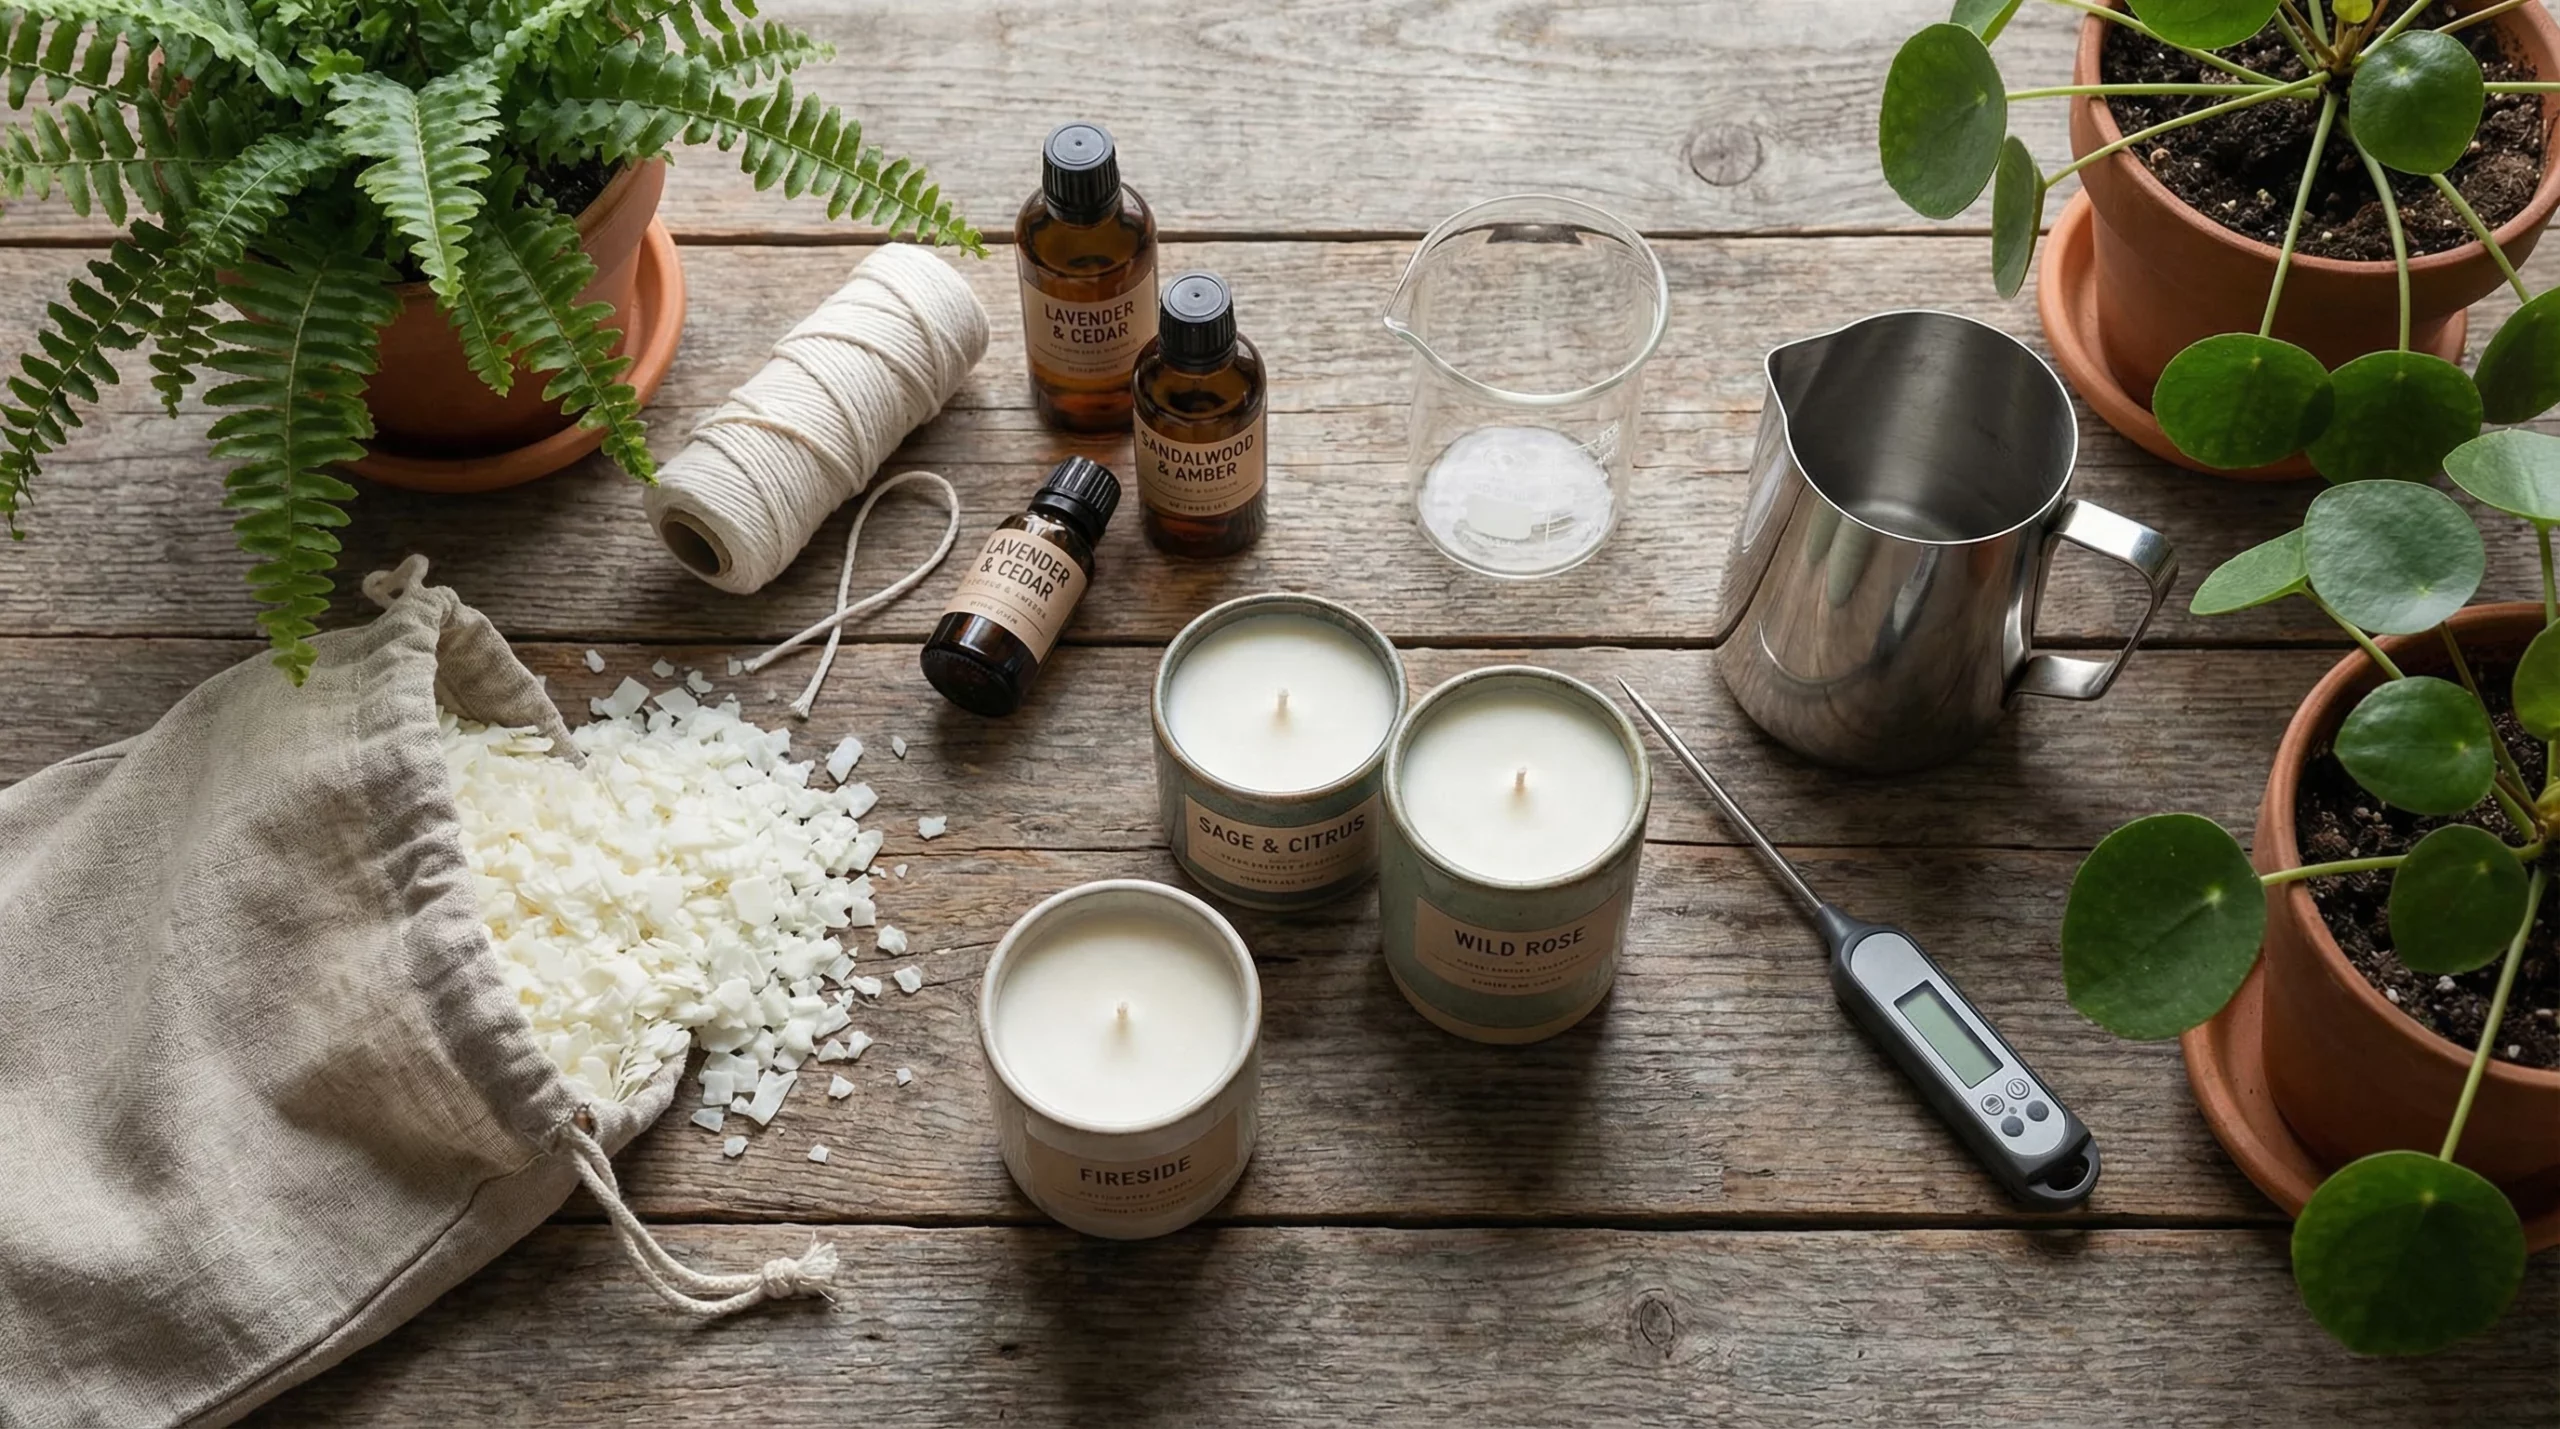
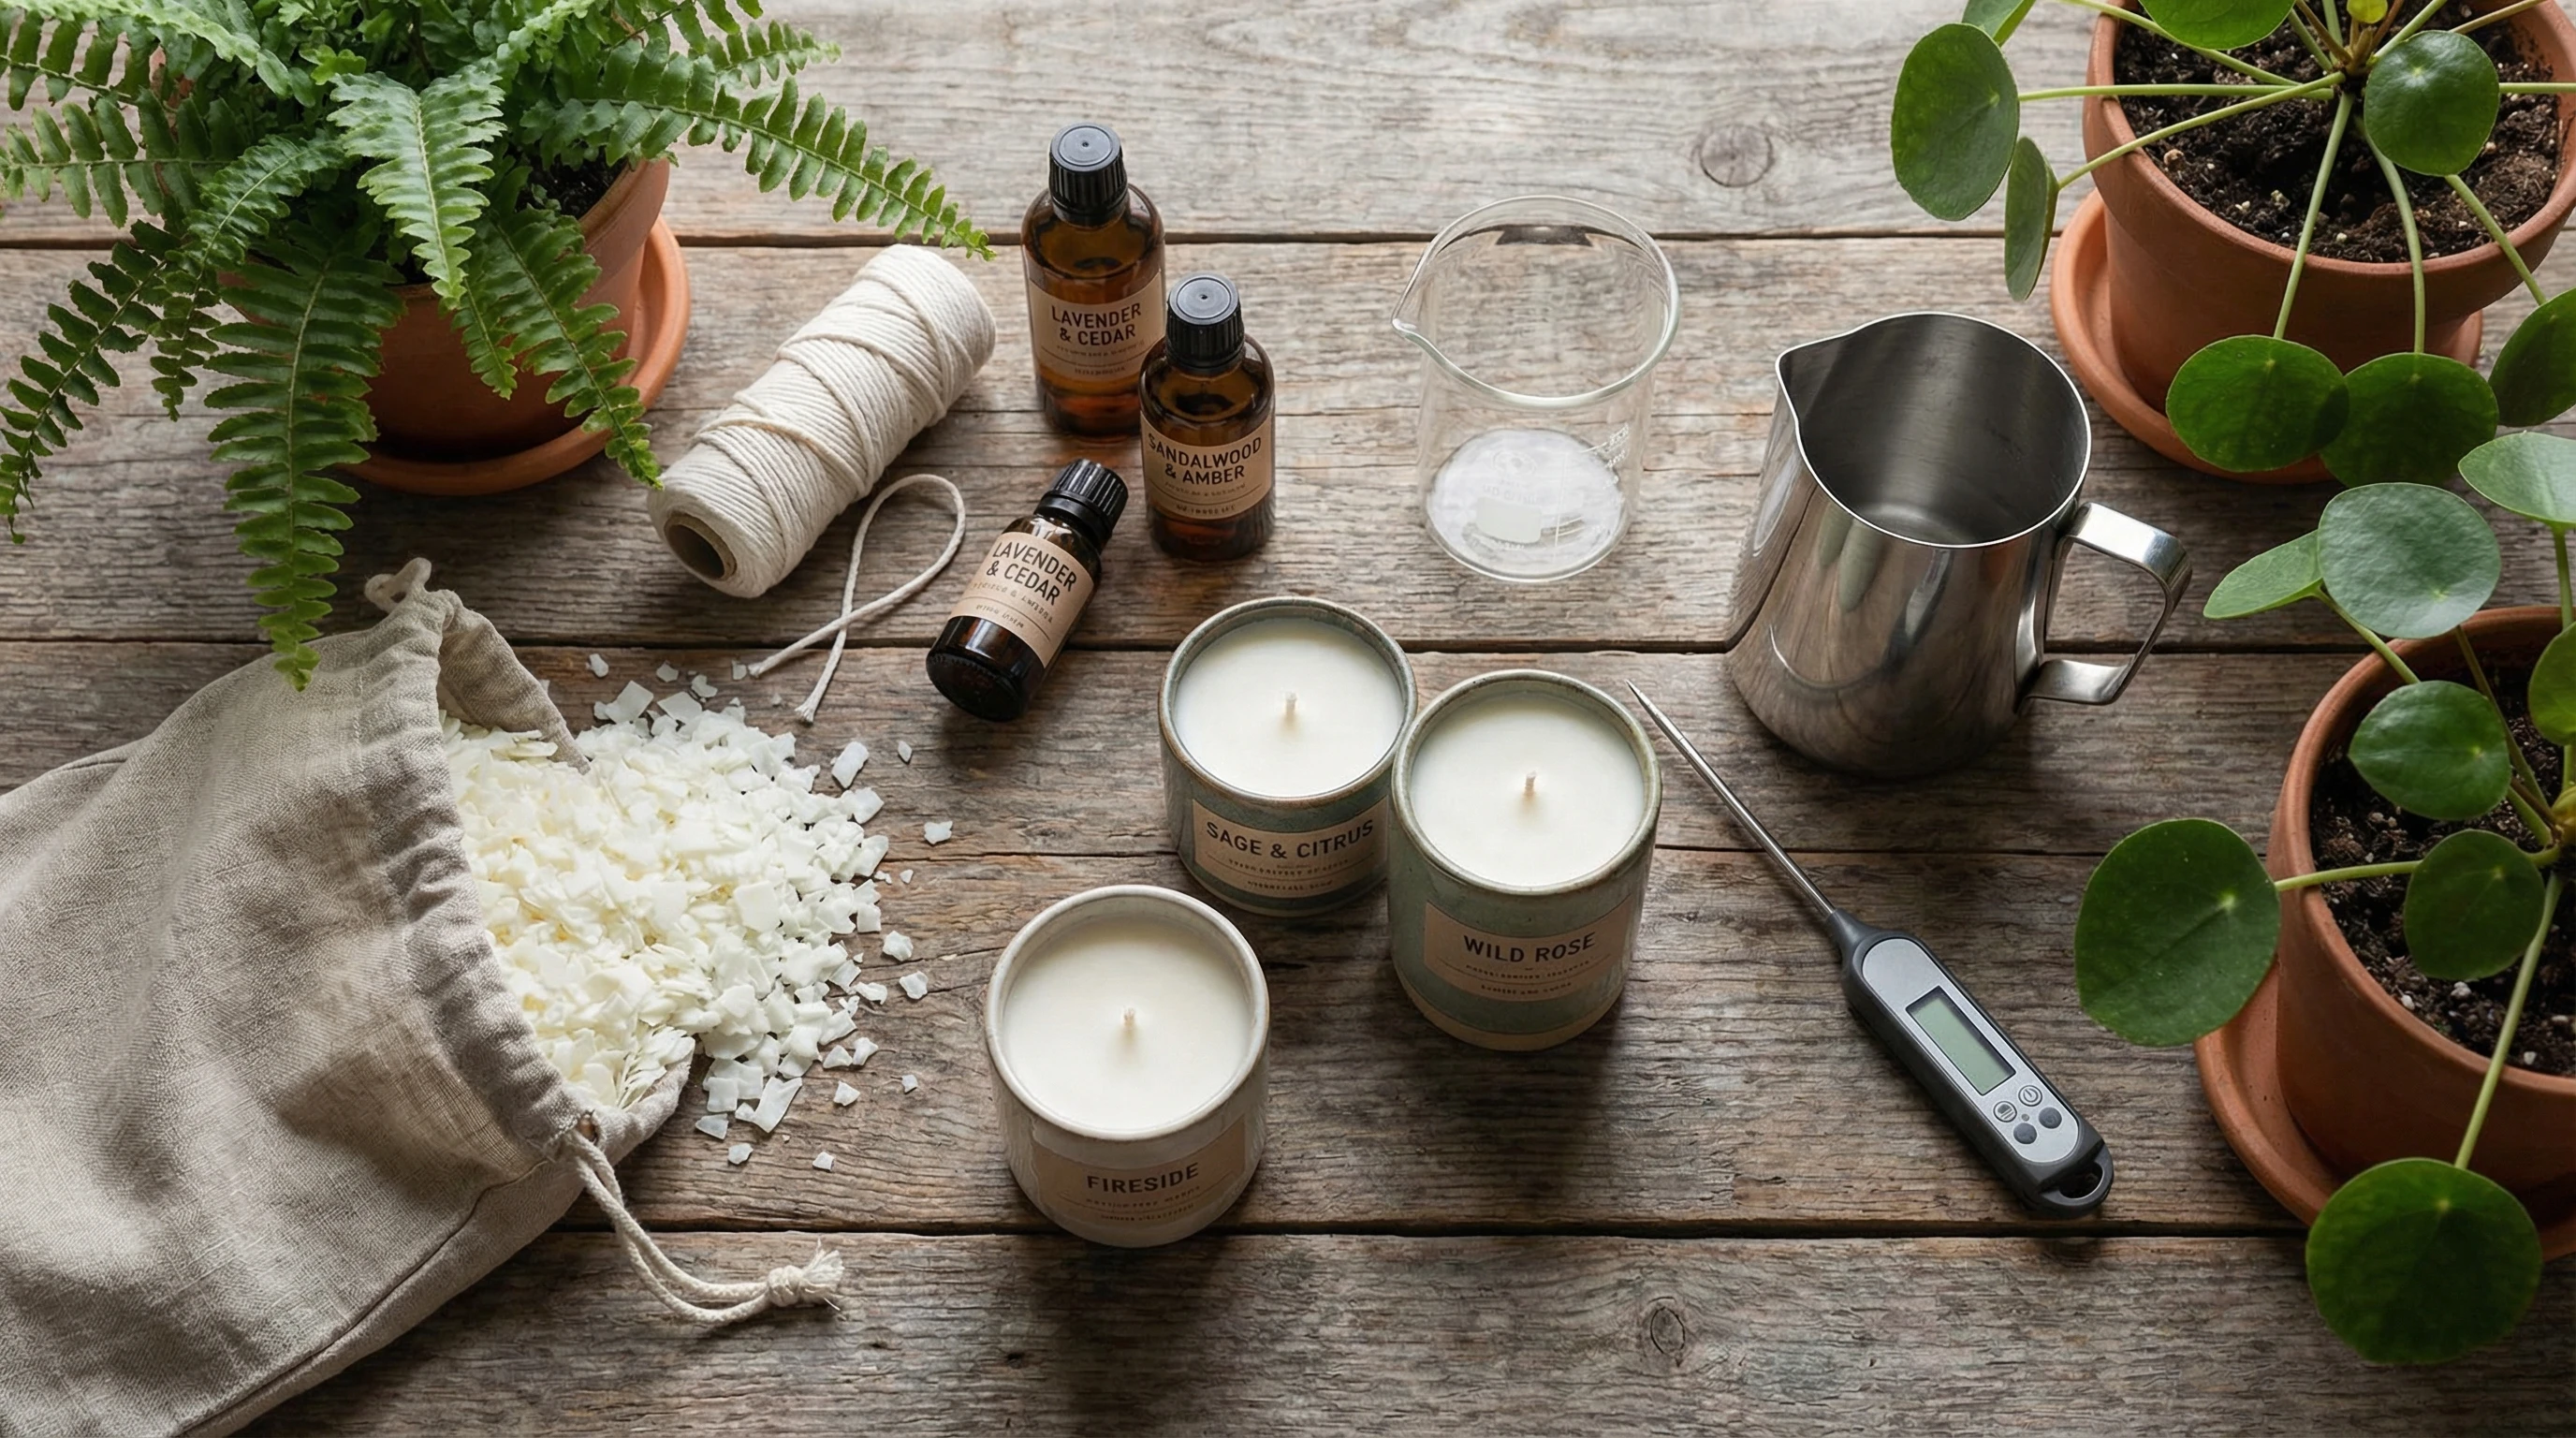
Handmade candles are absolutely everywhere lately. On Pinterest, at local markets, even as thoughtful gifts from friends who picked up a cozy new hobby. Lighting a candle you made yourself just hits differently. But before melting big blocks of wax, I found it super helpful to understand the basics: which wax to use, how wicks make a difference, picking the right scents, safety tips, plus the secret sauce to smooth, even burning.
If you’re even a little business-curious, there’s actually a whole world to explore online. Tons of candle lovers end up turning their passion into part-time or even full-time gigs. I put together a friendly business starter hub if you want to check it out:
👉 Stress-Free Online Business Hub
Picking the Best Wax for Beginners
Candle wax isn’t all the same, and the one you pick shapes your entire experience—from how easy your candle is to make, to its scent and burn time. Here are the main players:
- Soy Wax: Burns clean, lots of trendy “eco friendly” vibes, and is forgiving while you’re learning. I love it for that dreamy warm-up scent before it’s even lit.
- Beeswax: Totally natural, with a subtle honey smell and long burn time. Slightly trickier to wick, though, especially for bigger candles.
- Paraffin Wax: Makes those super bright colored candles with the best scent throw. It’s not considered as natural, but it’s still popular for classic strong-scented candles.
- Coconut Wax: Feels super luxe, pours with extra smooth tops, and gives amazing scent throw. It does cost more, so it’s perfect if you’re treating yourself or splurging for gifts.
- Wax Blends: Candle makers mix waxes for the best of both worlds: smoother tops, easier jar release, and more consistent burning.
For most beginners, I suggest soy or a coconut soy blend. You’ll avoid a lot of hassle, get prettier tops, and the scent is strong but not overwhelming. If you dream of turning this hobby into a little shop one day, your choice of wax is one part of growing a strong candle brand.
Disclosure
Here’s a little transparency: Our website contains affiliate links. This means if you click and make a purchase, we may receive a small commission. Don’t worry, there’s no extra cost to you. It’s a simple way you can support our mission to bring you quality content.
(Business tip: Wealthy Affiliate teaches you how to build a website for less headache down the line.)
Wick Picking Made Simple
I learned pretty quickly that not all wicks are equal. My first few candles smoked or tunnelled, just because my wicks weren’t sized right. Here’s what I wish I knew from day one:
- Cotton wicks: The go-to for most containers. Steady, predictable burn, easy to source. If your candle is in a glass jar, this is a safe pick.
- Wooden wicks: Trendy and fun, with a soft crackle. They do require a bit more trial and error. If your candle keeps going out, try double wicking or sizing up.
- Wick size & series: Wicks like CD, ECO, and LX all behave differently. Your jar’s width matters most (bigger jar = thicker wick), and different waxes may need bigger or smaller wicks. Charts from your wick supplier are pretty handy for this step.
If you notice a huge flame or lots of soot after lighting, your wick’s probably too large. If the wax tunnels down the middle without melting edge to edge, your wick is too small. Testing is the secret weapon for homemade candle success.
Tip: Keep a simple log with your jar size, wax type, wick size, fragrance load, and burn test results. The info piles up fast and saves you lots of guesswork later.
Getting Scents Just Right: Fragrance & Essential Oils
There’s nothing like popping open a lid and getting that first whiff of something delicious—cotton, vanilla, eucalyptus, or whatever matches your vibe. Here’s how scents work in handmade candles:
- Fragrance load: Aim for 6–10% by weight (that’s grams per 100g wax). Soy wax usually does well between 8–10%. If you add too much, the candle may struggle to set properly or burn weirdly.
- Essential oils vs fragrance oils: Essential oils are natural but usually lighter and sometimes less stable in candles. Candle specific fragrance oils are designed for maximum scent and stability, so they’re a staple if you want bold aromas.
- Cold throw vs hot throw: ‘Cold throw’ is how your candle smells before lighting; ‘hot throw’ is the scent you get while it burns. Testing both is helpful so you don’t end up with a candle that smells great in the jar but weak when burning.
- Wax type matters: Paraffin needs less fragrance, soy needs a bit more. That’s part of why so many beginners stick with soy—it’s easy to tweak if you want to add more scent later.
Container Choices & Staying Safe
Pretty containers are half the fun, but not every cute jar is safe for high heat. Here’s a quick breakdown so you stay safe and get a cleaner burn:
- Use heatsafe jars: Thick glass, metal tins, and some ceramics are built for repeated heating. Mason jars and sturdy glass tumblers work well.
- Avoid: Super thin glass, plastic containers, reused food jars, or anything you’re not sure is heat-tested. They might crack or shatter with heat.
- Centering your wick: Wick stickers (or hot glue) and centering gadgets help keep that wick perfectly in the middle, for even melting.
- Labeling: I always add a safety label and basic burn instructions—even for gifts. Depending on your country, you might need CLP info for scent safety.
Improving Burn Quality: Tips For Smooth, Even Candles
A good candle should burn all the way out to the edges (no leftover wax islands). Here’s what helps you get an Instagram-worthy result, every time:
- Prevent tunneling: Make sure your wick is sized right, and always let the first burn melt to the very edge before blowing it out.
- Reduce soot & smoke: Trim the wick to 5 mm (¼ inch) before every burn, and keep candles away from breezy spots.
- Beating frosting (if using soy): Keep your pouring temperatures steady, and avoid moving jars while they cool. Even the pros get some frosting; it’s just cosmetic and shows your candle is natural.
- Smooth tops: Mix gently, avoid whipping air into the wax, and pour at your wax’s recommended temperature (usually 55–65°C for soy).
- Curing: Soy candles come alive if you let them cure uncovered for 3–14 days. The scent gets way stronger and more balanced.
Another tip to give your candles a boost is to experiment with fragrance oil blends. Mixing two or three scents can help you stumble upon a signature aroma that sets your creations apart. Plus, layering scents lets you play around with top, middle, and base notes, giving even simple candles a next-level cool feel. Don’t forget to jot down your ratios, so you can recreate your favorites later.
Easy Candle Recipes for First-Timers
Here are some basic recipes to try; each one has its own personality, so you can find your favorite before experimenting:
- Classic Soy Jar Candle:
Melt soy wax to 70–75°C. Add fragrance oil at around 65°C. Pour at 55–60°C. Use 6–8% fragrance load. Let cure for at least three days for best scent. - Pure Beeswax Candle:
Beeswax melts hotter, and it’s denser, so grab a larger wick. Pour at 70–75°C, no added scent needed unless you want extra aromas. - Luxury CoconutSoy Blend Candle:
Lower melt temps (around 65°C), pour at 55°C, and use up to 12% fragrance. Expect a creamy smooth finish and dreamy throw.
Whichever recipe you try, keep a log of every batch (with the date, wax, wick size, fragrance %) and notes on how it burned or smelled. It’ll save you tons of time when you start tweaking things. If you want to take things a step further, invite friends or family to try your candles and give honest feedback. Honest reactions help you spot room for improvement and highlight the details that make your work shine.
Curious About Turning Candle Making Into a Side Hustle?
Handmade candles are irresistible for gifts and online sales. If you’re planning to test the waters for selling, here are a few things that help:
- Start branding early: Play with logo ideas, scent collections, and label styles—even if you’re just gifting at first.
- Starter business tools: Learning the ropes of websites, design, and automation can sound overwhelming. Platforms like Wealthy Affiliate (join here) walk you through it step by step.
- Pricing: Lots of makers use cost of goods × 4–5 to cover materials, time, and a bit of profit.
- Marketing even for introverts: You don’t have to be all over TikTok. Many new sellers start with a blog, packaging photos on Instagram, or small tables at local markets.
Got bigger dreams? Wealthy Affiliate is one way to learn the basics of websites and SEO, helpful if you ever want to reach more buyers (same way I did for my candle side gig).
Extra Resource for New Entrepreneurs
If you see yourself growing beyond hobby candles and exploring other online income ideas, you might enjoy this starting hub as well:
👉 Beginner’s Guide to Online Income
FAQ: Handmade Candle Trouble-Shooting
These are the main issues I see beginners ask about all the time, with quick solutions:
Why is my candle tunneling?
Usually, your wick is a bit too small for the jar, or the candle wasn’t burned until the wax melted edge-to-edge on the first use.
How much fragrance oil should I use?
Most candles do well with 6–10%. Check your wax supplier’s advice and start at the lower end, especially for new recipes.
Why does my candle look frosty?
You’re probably seeing natural “frosting,” especially with soy wax. It can also happen if you poured while the wax was too hot or cold.
Can I use essential oils for scent?
You can, but the scent is usually lighter and might not last as long. Fragrance oils are specially made for candles and perform better in tests.
Which containers are safe?
Thick, heat-tested glass, tins, or ceramic containers with no cracks or chips. If in doubt, stick to jars made for candle making or similar heat use.
Why can’t I smell my candle while it’s burning?
Try increasing the fragrance load, lowering your pour temp, or letting the candle cure for longer. Also, double check that your wick and wax combo is giving you a good melt pool for enough scent to release.
Wrapping It All Up
Candle making is rewarding and genuinely creative. The basics are easy to learn, and there’s always something new to tweak, smell, or try again. Pick up some soy wax, simple wicks, and a couple of your favorite scents, and start small to get a feel. Testing is everything! If you catch the business bug, there are gentle entry points for everything from branding to websites. Happy candle pouring!