Candle making has grown into one of my favorite cozy crafts in recent weeks. Handpoured candles give you the freedom to mix up your own scents, colors, and styles right at home. The choices for supplies and tools might seem overwhelming when you’re just starting out. I’ll break down all the basics so you can easily get started and set yourself up for safe, fun candle creations.
Why Make Your Own Candles?
Making candles is a practical hobby that brings together creativity, learning, and even a bit of home fragrance science. Lots of people pick up candle making as a relaxing activity after work or on weekends. Some crafters even turn their hobby into a small business due to the huge demand for personalized, handcrafted candles. Working with wax and fragrance is rewarding, and you’ll always have a stash of handmade gifts ready to go.
Do you have a hobby and want to turn it into a small business? Click Here!
The candle market is huge, with forecasts showing steady growth as folks look for cleaner burning, ecofriendly candles or unique scents you just can’t find in stores. Crafting your own candles gives you the power to pick ingredients, control quality, and tailor your creations to suit your home or your favorite people. Making candles yourself can be more economical than buying highend candles at the store.
Candle Making Basics: Understanding The Main Ingredients
I always get excited picking out new waxes and experimenting with oils. The three core ingredients in candle making are wax, wicks, and fragrance (plus color, if you’re into that sort of thing). Here’s a quick rundown of what those are:
- Wax: This forms the main body of your candle. You’ll usually start with soy wax, paraffin wax, or beeswax. Each has a different melting point, scent throw, and cleaning routine.
- Wicks: Wicks come in all shapes and sizes. Cotton and wood are both popular. Getting the right wick size is pretty important. Too big, and your candle burns up too quickly; too small, and you’ll get tunneling and wasted wax.
- Fragrance and Color: These give your candle its personality. Oils are added to melted wax, while color comes from liquid dye or dye chips.
Learning how waxes, wicks, and fragrances work together can make all the difference. Understanding these basics will set you on the right path for experimenting confidently.
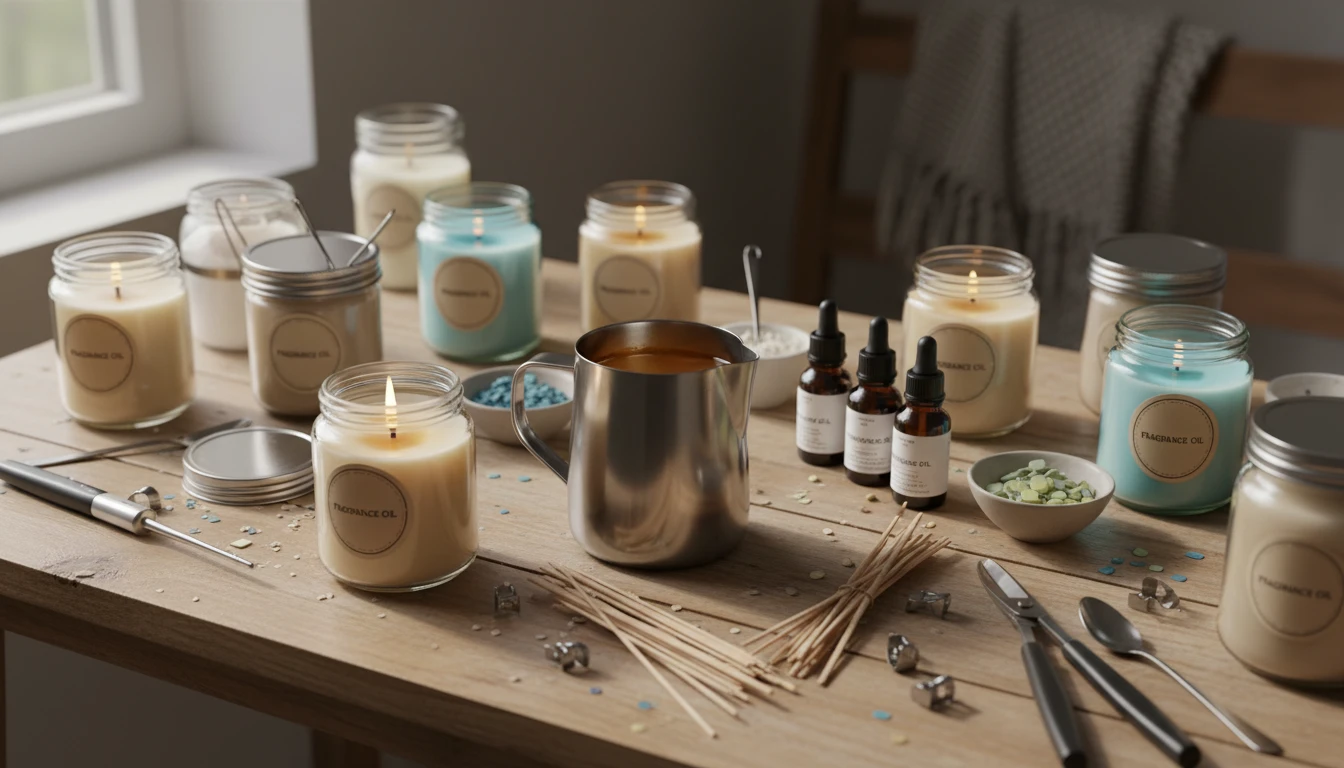
Essential Candle Making Tools And Supplies For Beginners
A starter candle making kit begins with just a few simple tools. Once you’ve been at it for a while, you can upgrade or try out more specialized gear. Here’s what you need for getting started:
- Pouring Pitcher: A heathsafe pouring pitcher makes it easy to melt and mix wax, then pour it safely into containers. Stainless steel is simple to wash and handles high heat well.
- Double Boiler Setup: Melting wax directly on the stove isn’t recommended. Always use a double boiler. If you don’t have one, a heatsafe bowl set atop a pot of simmering water works.
- Candle Thermometer: Watching wax temperature matters. Most waxes melt between 120°F and 180°F. With a thermometer, you’ll know when to add fragrance and pour for the best results.
- Candle Molds or Jars: Mason jars, old teacups, and metal tins work great for beginners. For pillar candles, silicone molds are useful.
- Wick Holders or Centering Devices: These small tools keep your wick centered during cooling for straight candles.
- Mixing Utensils: Keep a few dedicated wooden spoons or silicone spatulas just for candle projects. Skip plastic utensils—they can melt in hot wax.
You won’t regret investing in quality starter tools. Using the right equipment makes your projects smoother and way more enjoyable.
Quick Start Guide: Making Your First Candle
It’s easy to skip steps out of excitement, but following a workflow makes things much less stressful. Here’s my usual process, step by step:
- Prepare Your Work Area: Cover surfaces and gather all your supplies. Candle making can get a bit messy.
- Melt The Wax: Set up your double boiler, add wax flakes to your pouring pitcher, and slowly melt over medium heat.
- Monitor Temperature: Stir occasionally and check with your thermometer. Add fragrance oil at the correct temperature (usually around 170°F; check your wax label for details).
- Add Color: Mix in dye chips or drops of liquid dye until fully combined.
- Secure The Wick: Stick your wick to the bottom of your container using a bit of hot wax or a sticky tab, then hold it in place with a centering device.
- Pour The Wax: Pour slowly into your container, leaving room at the top. Let it cool undisturbed.
- Let It Set And Cure: Most candles set in several hours, but curing for a few days improves how well they burn and smell.
What To Think About Before Investing In Candle Making Gear
Getting into candle making is exciting, but there are some common challenges you’ll want to plan for:
- Wax Types: Soy, paraffin, and beeswax all behave differently. Soy is beginnerfriendly, natural, and affordable. Beeswax costs more but burns clean and lasts longer. Paraffin is known for vivid colors and strong scent, but some avoid it for environmental reasons.
- Fragrance Load: Adding too much fragrance oil can cause issues like sweating or pooling at the top of your candle. Each wax has a maximum fragrance load (usually 6–10%), so stick to recommended ratios for best results.
- Wick Sizing: A wick that’s too small tunnels down the center, while a too big wick can cause smoking. Wick guides are available and candle supply websites offer handy calculators based on your jar size.
- Frosting and Cracking: Especially with soy wax, you may see an icy look or small surface cracks. These don’t affect burning, but controlling room temperature during pouring and cooling can help reduce them.
- Cleaning Up: Cleaning up candle wax is easier while it’s still warm. Wipe down tools right away with paper towels, then wash in hot, soapy water. Never pour wax down the drain—it hardens quickly and can clog pipes.
More About Waxes
Paraffin was the goto candle wax for ages, but I like soy and beeswax for their clean burn and great scent. Soy wax is budgetfriendly, easy to color, and holds fragrance well. Beeswax smells pleasant even without added oils, and it’s fun for rolled taper candles too. Coconut and palm waxes are other options, though they’re less common for beginners due to higher costs or being harder to track down.
Picking The Right Wick
Getting the wick right matters. I learned this after my first batch tunneled—burned straight down the middle but left the sides untouched. Cotton wicks come pretabbed for convenience, while wood wicks crackle as they burn and look nextlevel cool. Candle diameter guides from supply shops can help you choose the size you need.
Working With Fragrance
It’s tempting to go heavy on scent, but less is often more. Look for oils labeled “candle safe.” Start with 1 ounce of fragrance per pound of wax and adjust as desired. Always mix well to ensure even fragrance distribution. Some oils may discolor wax or change burn behavior, so run small test batches if you’re unsure.
Tips For Better Results And Troubleshooting
You’ll get the hang of things as you practice, but a few handy tips can save you time and hassle as you grow your skills:
- Testing Burns: Always test burn any new candle in a draftfree area. Watch how the wax melts and look for issues (like tunneling or sooting) so you can adjust wick size or wax mixture.
- Cure Time: Even if candles look set after cooling, waiting at least 2–3 days (or longer for soy) lets the scent and wax fully blend for the best fragrance and burn.
- Label Ingredients: If you’re gifting or selling, always record the ingredients you used. Allergies and sensitivities are common, and being transparent helps build trust.
- Storage: Store finished candles away from sunlight to avoid fading and melting. A cool, dry place is best.
What Equipment To Get First (A Quick Reference)
I recommend this basic starter set if you’re just kicking things off:
- Pouring Pitcher
- Double Boiler Pot
- Candle Thermometer
- Mixing Spoons or Spatulas
- Containers or Molds
- Candle Wicks and Wick Holders
- Wax (Soy or Beeswax)
- Candle Safe Fragrance (optional)
- Candle Dye (optional)
Frequently Asked Questions
People often ask about some basics before jumping in. Here are common questions I see:
Question: Can I use regular kitchen pots and tools for candle making?
Answer: You can use old kitchen tools, but it’s better to keep a separate set just for candle making because wax is tough to clean and you probably don’t want fragrance oils in your cooking utensils.
Question: What’s the safest wax for beginners?
Answer: Soy wax is a favorite among beginners—it’s affordable, nontoxic, and melts at a lower temperature, so it’s safer to use.
Question: How do I avoid air bubbles or surface issues?
Answer: Pour wax slowly, tap the container gently to let air bubbles rise, and avoid pouring in extremely humid or cold conditions for the smoothest finish.
Getting Started With Your Candle Making Adventure
Choosing basic tools, finding the right wax, learning about wicks, and picking up a few troubleshooting tricks will set you up well for making homemade candles. I’ve found that experimenting with different ingredients and equipment helps you build your skills quickly. Candle making is a craft where there’s always something new to try, and even minor mistakes teach useful lessons for next time.
Starting with small batches is best, as it lets you try out different wicks, fragrance amounts, or colors without much waste. Have fun, and soon you’ll be admiring the glow and scent of your own handmade candles, knowing exactly what you put into each one.